It was a while ago I posted something about the Hive roaster, and since then I’ve had some suggestions that I’ll do a home roasting series of posts. So we’ll begin slow and easy, not any difficult stuff or special equipment other than the Hive roaster.
So first of all, I’m not an expert of any kind when it comes to roasting coffee, I’ll keep it as easy as I can since I’m a beginner as well. I used a raw coffee from Brazil that had been natural processed. This is something that I don’t recommend as a beginner, the best and most even is the “washed process” so that will help you get a more even roast.

In this post I’ll use some words that are common in coffee roasting and I’ll explain them as well, but the most important thing when you roast is to have a plan so you can have something to follow. You could use my “recipe” or you can find something online or come up with something by yourself, but always take note of what you do so you’ll understand what will affect what.
For this recipe, I’m heating up the roaster before putting the raw coffee inside the roaster. This doesn’t make it taste any different; it’s just what I prefer since it will make me shake the coffee for 2-4 minutes less. Heating up the roaster in beforehand is called CHARGE.
The stage that comes after you’ve put the coffee is called the DRYING STAGE/PHASE, since the raw coffee still has moisture left in it you have to let it vaporize with your roaster, it ends at around 158-163 degrees Celsius.
As soon as it’s vaporized a bit you’ll come to the BROWNING/MAILLARD STAGE/PHASE, this is when the raw coffee begins to shift its color to a more brown hue. This is a zone of patience; I want to take it slow and easy to keep an extra eye on the roasting. When the coffee pops like popcorn it’s called a CRACK and the first one is of course called FIRST CRACK, after that you’ll be entering the DEVELOPMENT STAGE. If you want light roast, end it here, if you want mid roast as I wanted for this recipe, stay for around 90 seconds and stop and 200-202 degrees Celsius.
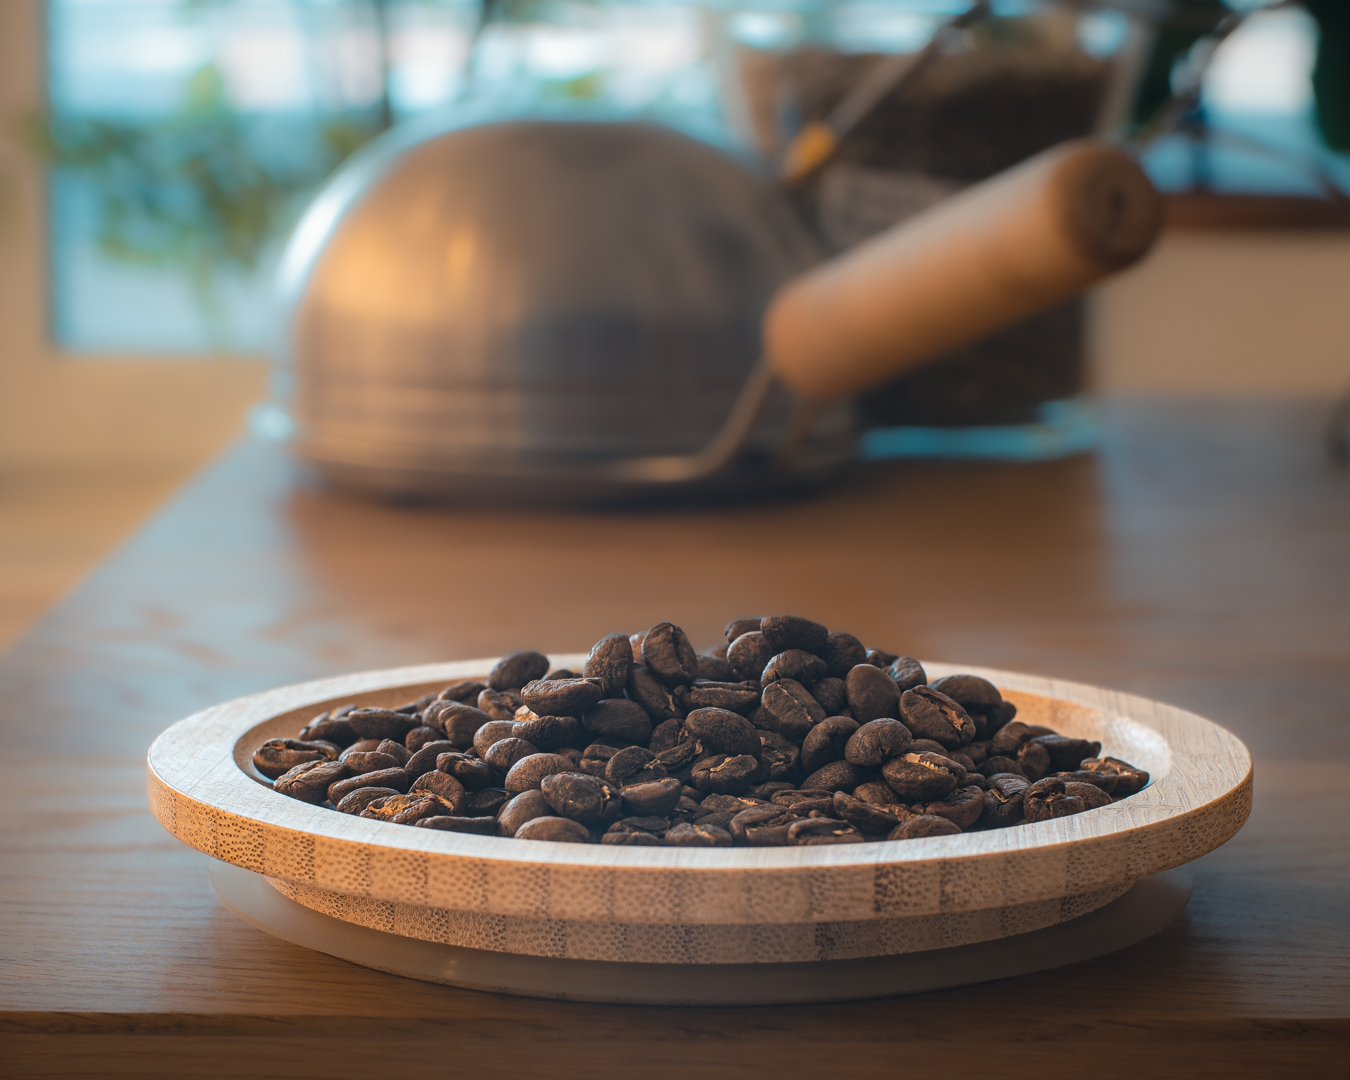
Now you’re done, begin to cool the roasted coffee in a sifter of some sorts. You have 5 minutes to cool it down, because like any kind of cooking, the beans will keep cook themselves if they stay and 180+ degrees. We have to help them, so I just agitate them with a spoon to also get of some chaff. See picture below:

So for the recipe:
Charge: 125 degrees Celsius. Pour the raw coffee through the hole using a milk pitcher.
Drying stage: at 3½ minutes try to reach 155 degrees Celsius, after a few seconds you’ll be entering the next stage.
Maillard Stage: I’m gentle here and all coffees are different, but I try to keep it for 3+ minutes. Here it depends when you reach the first crack. I did it at 191 degrees Celsius. Mine ended at 6½ minutes.
Development Stage: Here I didn’t want it to stay longer than 90 seconds or higher than 202 degrees Celsius. So I ended everything at 8 minutes. Which is pretty quick for a nutty and chocolatey coffee.
Cooling Stage: You have 5 minutes to cool it down, put them in a sifter then agitate them with a spoon to also get of some chaff. Then put them on a kitchen towel or paper to let them cool down.
0 comments on “HIVE ROASTER – Brazil Pulped Natural Catucaὶ- Fazenda Santa Cruz” Add yours →